Yesterday while driving home from the Signed Sealed Delivered Annex store
warehouse sale I stopped off at the Dollar Tree store to see what goodie I could
find for fall decorating. I thought I might find some foam tree forms but they
only had foam wreaths. Then I spied these...
A tinsel tree. They have them in several colors at the Dollar Tree. The
shape was right, and at one dollar, the price was really right. The frame is
made of plastic and not foam so I would be able to remove the tinsel without destroying
the frame.
I began removing all the tinsel, which was really easy. It
just popped right off in one big piece. I can even reuse it someday if I need
to.
With the tinsel removed, you are
left with a very nice little plastic frame.
To hold the frame together I used
some twine. I tied four pieces of twine to keep it from spreading apart. You
could use wire or twist ties or even fabric. I had twine on hand so I used it.
Next, I cut a circle the same
size as the bottom of the frame. I just used some old cardboard I had from a box
of paper. Then I stuffed the form with some old newspaper.
Then using my gle gun I glued the cardboard circle to the bottom of the stuffed frame.
I will be using this tree for two
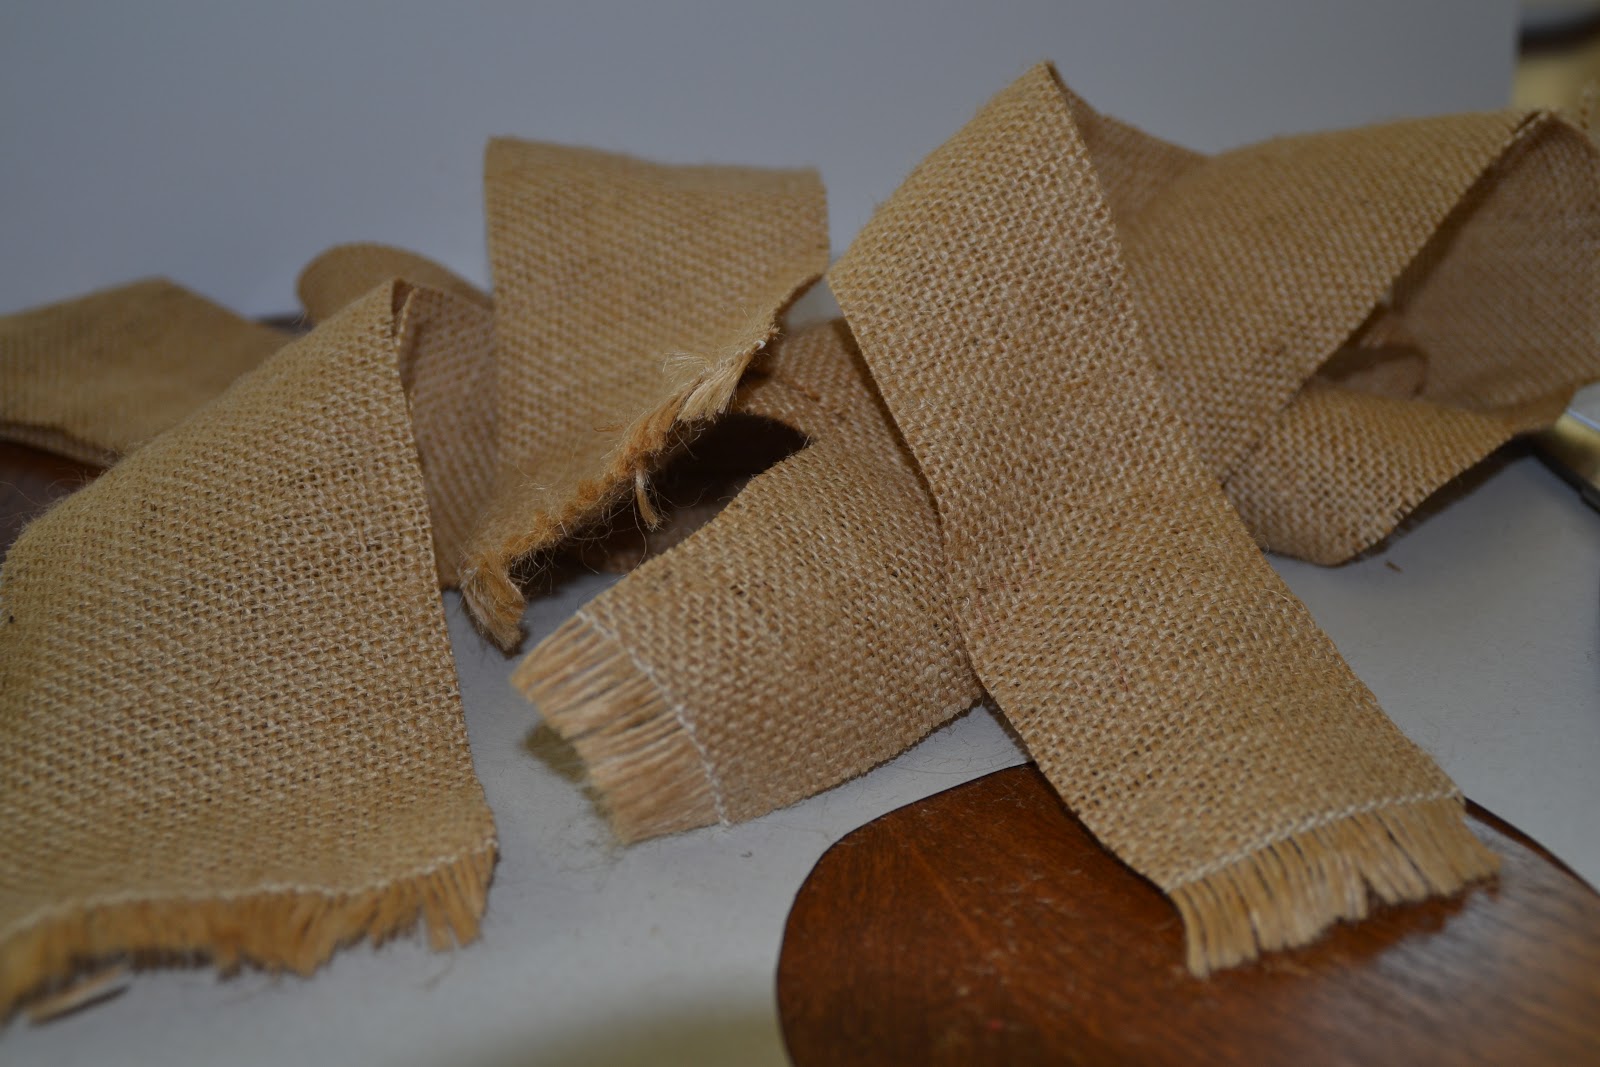
seasons this year so I decided to make the tree out of burlap scraps I already
had on hand from other projects. I cut the burlap in 2 or 3 " strips and
about 24" long.
Then
I cut some slits in the burlap about every 1" or so. Towards the top of the
tree, I cut the slits closer together.
I
rolled the ends of the slit burlap with a pencil to give the tree a more
dimensional looks. I found that if I got the burlap damp it was easier to roll and teh curls stayed put.
The next step is to glue the slit
burlap strips to the frame. I cut off the excess burlap and set it aside to be
used for a smaller layer later. I used one strip for each layer until I got
closer to the top then I was able to wrap the strip for a couple of layers. In
addition, when I got about 3/4 way done I cut my strips about a 1/2" deep.
This made it easy to wrap around the short distance. I also squeezed the burlap
to the frame being careful not to burn myself. The shape looked nicer when I
did this.
Towards the top, I cut a few
small pieces of burlap about 1/2"
by 2" and glued them on top of the tree to cover the peak of the frame. Then
I wrapped and glued a couple more layers of burlap strips, squeezed them to the frame, and it was done
Now I have a cute burlap tree that I can use for both Fall and Christmas.
I plan on make several more of these to use throughout the house during the holidays.
I hope you and yours have a blessed
week.
Love,
Joanie
Linking