
Yesterday while driving home from the Signed Sealed Delivered Annex store warehouse sale I stopped off at the Dollar Tree store to see what goodie I could find for fall decorating. I thought I might find some foam tree forms but they only had foam wreaths. Then I spied these...

I began removing all the tinsel, which was really easy. It
just popped right off in one big piece. I can even reuse it someday if I need
to.

With the tinsel removed, you are
left with a very nice little plastic frame.

To hold the frame together I used
some twine. I tied four pieces of twine to keep it from spreading apart. You
could use wire or twist ties or even fabric. I had twine on hand so I used it.

Next, I cut a circle the same
size as the bottom of the frame. I just used some old cardboard I had from a box
of paper. Then I stuffed the form with some old newspaper.

Then using my gle gun I glued the cardboard circle to the bottom of the stuffed frame.


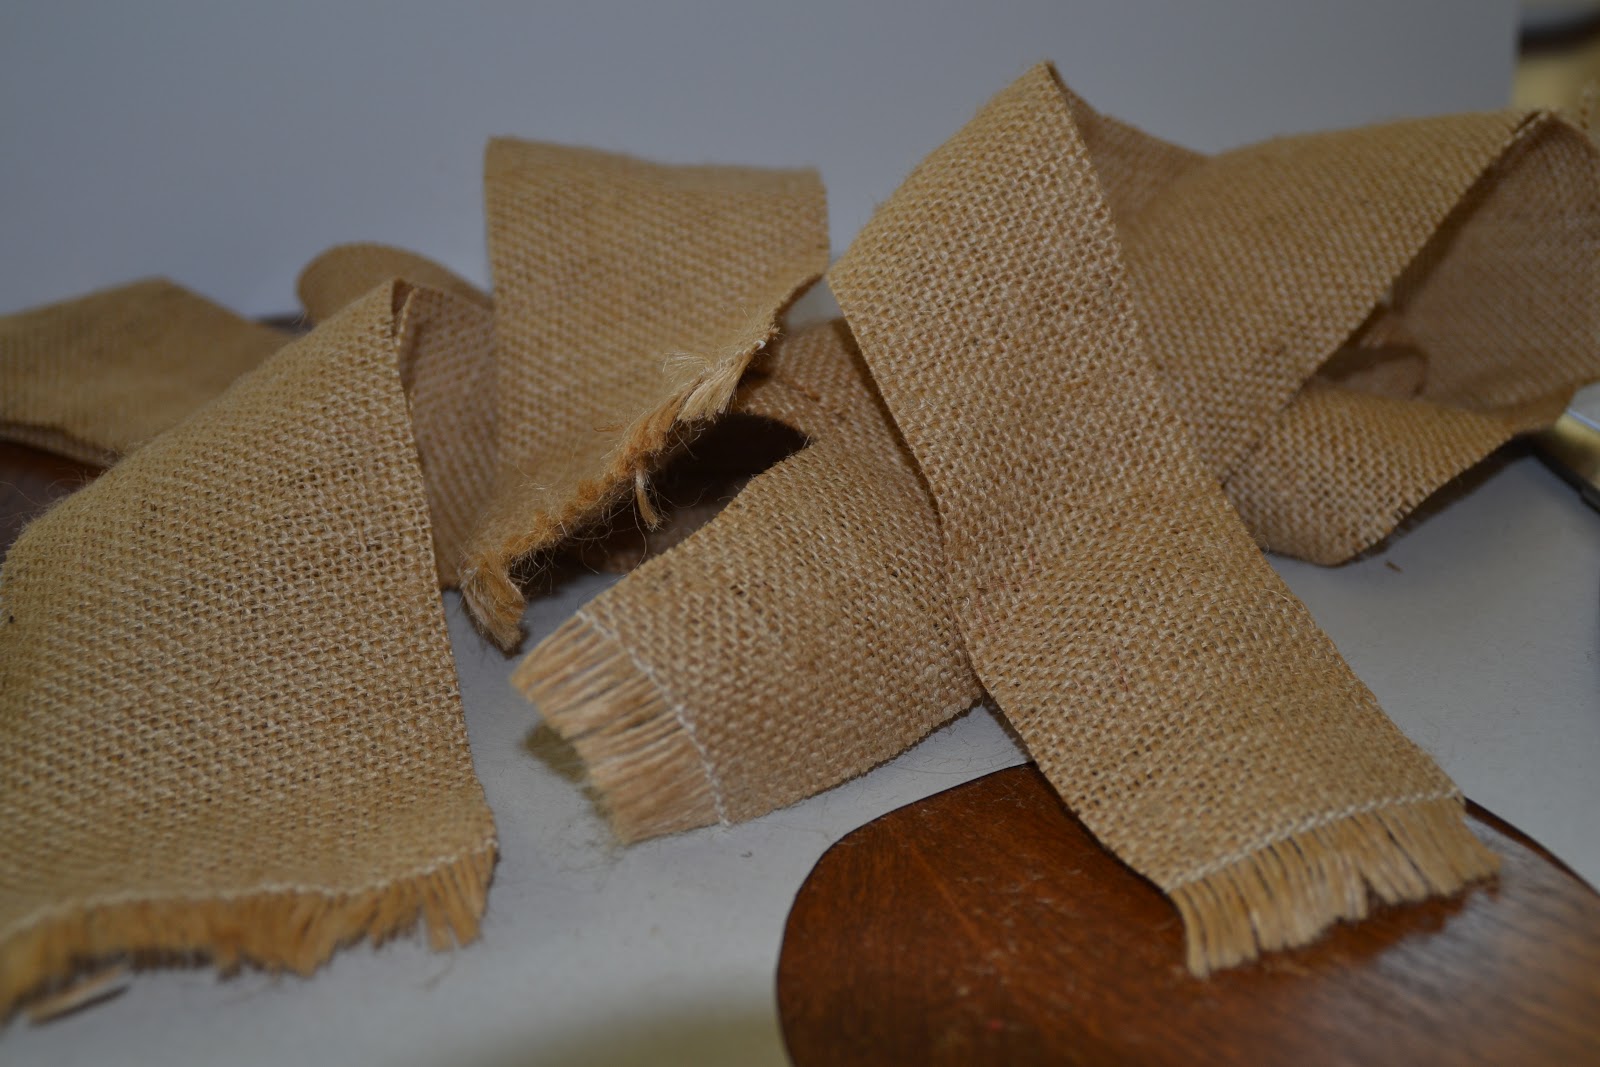
I will be using this tree for two
seasons this year so I decided to make the tree out of burlap scraps I already
had on hand from other projects. I cut the burlap in 2 or 3 " strips and
about 24" long.
Then
I cut some slits in the burlap about every 1" or so. Towards the top of the
tree, I cut the slits closer together.

I
rolled the ends of the slit burlap with a pencil to give the tree a more
dimensional looks. I found that if I got the burlap damp it was easier to roll and teh curls stayed put.

The next step is to glue the slit
burlap strips to the frame. I cut off the excess burlap and set it aside to be
used for a smaller layer later. I used one strip for each layer until I got
closer to the top then I was able to wrap the strip for a couple of layers. In
addition, when I got about 3/4 way done I cut my strips about a 1/2" deep.
This made it easy to wrap around the short distance. I also squeezed the burlap
to the frame being careful not to burn myself. The shape looked nicer when I
did this.


Now I have a cute burlap tree that I can use for both Fall and Christmas.


I plan on make several more of these to use throughout the house during the holidays.
I hope you and yours have a blessed
week.
Love,
Joanie
Linking


10 comments:
How stinking cute is that. A very thrifty creative idea. Love it. I am your newest follower, and thanks for following at Creative Cain Cabin.
Have a wonderful weekend:)
Now that was clever girl! Soooo cute. Thanks for sharing with the newbie party.
This is absolutely adorable! I have a bit of a burlap obsession so I really love this! Now I need to check out our local dollar store :) New follower from Catherine Elizabeth Creations :)
This is seriously the CUTEST! You are very creative and talented! I'm now following-I invite you to visit me :)
Susan
This is really adorable! Just got a new Ballard Designs catalog in today and they have a page devoted to burlap items, including a few trees. You should submit your tree to Knock-Off Decor cause it looks just like one of Ballard Designs!! Well done!!!
Thanks Gail. I could not believe it when I opened my Ballard Design catalog and saw their trees. I must have been channeling the designer when I came up with this one.
Oh how I loved this tree. I did buy one of those too, but I did not get nearly as creative as you. Hmmmm..now I should go tear it apart. Thanks so much for sharing with our party.
I have made so many of those little trees I think I could do it in my sleep. I would love to see yours.
Super cute trees! Thanks for sharing them at the party. Happy Holidays
Great job Joanie! I can't believe you thought to take apart a dollar store tree... great thinking out of the box! This is an awesome project, I'm thinking you could use a styrofoam tree if you had one too. Love this!
Susan
Post a Comment